How to set up Ubuntu Server running on your Raspberry Pi in 10 minutes flat
Got a Raspberry Pi laying around that you don't know what to do with? Why not set up a server on it? Grab your stuff and let's get started!
8/4/2023 - 4 min readHey there! Do you:
- Have a Raspberry Pi laying around that you don’t know what to do with?
- Want to learn how to set up a server?
- Have no idea where to start?
If so, then this guide is for you!
You’ll need:
- A Raspberry Pi (Zero W or better, must have WiFi capability)
- A microSD card (8GB or better, 32GB+ recommended)
- A power cable for your Raspberry Pi (USB-C or MicroUSB depending on the Pi)
- A computer running MacOS, Windows, or Linux (If you don’t have one of these, how the hell do you operate a computer)
- A microSD adapter for your computer if it does not have a microSD port
With all that out of the way, let’s begin!
First, head over to to https://www.raspberrypi.com/software 🔗 and pick up the latest release of Raspberry Pi Imager for your OS.
Extract, trust, do whatever your OS tells you to do, and run the software. You should see something like this:
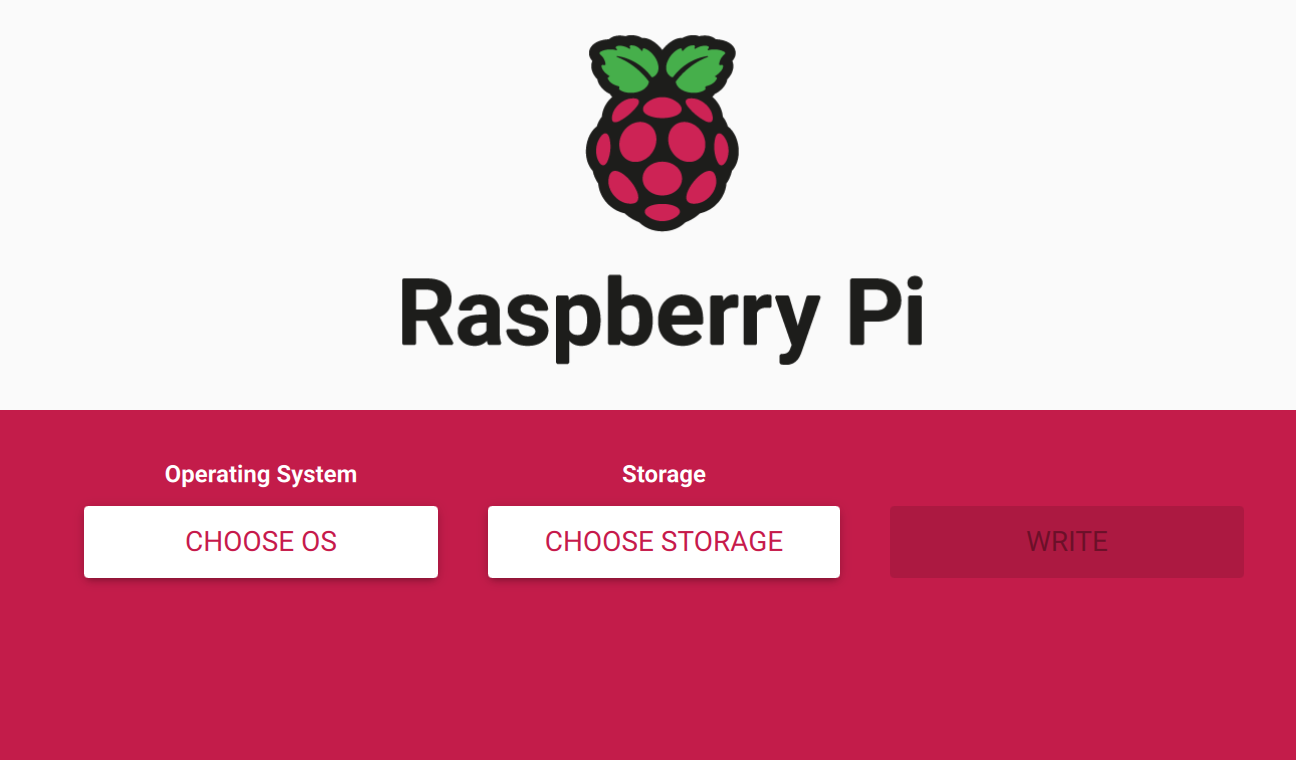
Great! This is all of the software you’ll need running on your computer. Now, click the “CHOOSE OS” button on the left:
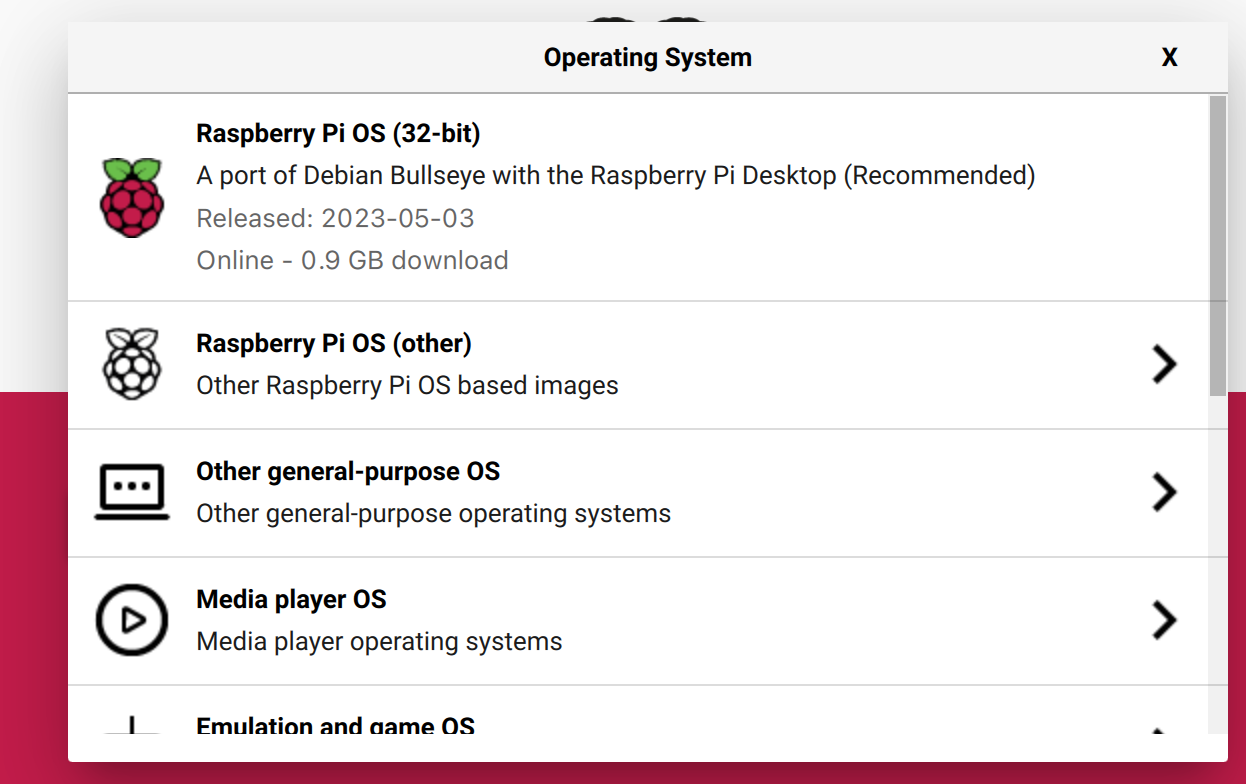
You can technically choose any OS here, but since this tutorial is specifically on Ubuntu Server, let’s click “Other general-purpose OS”…
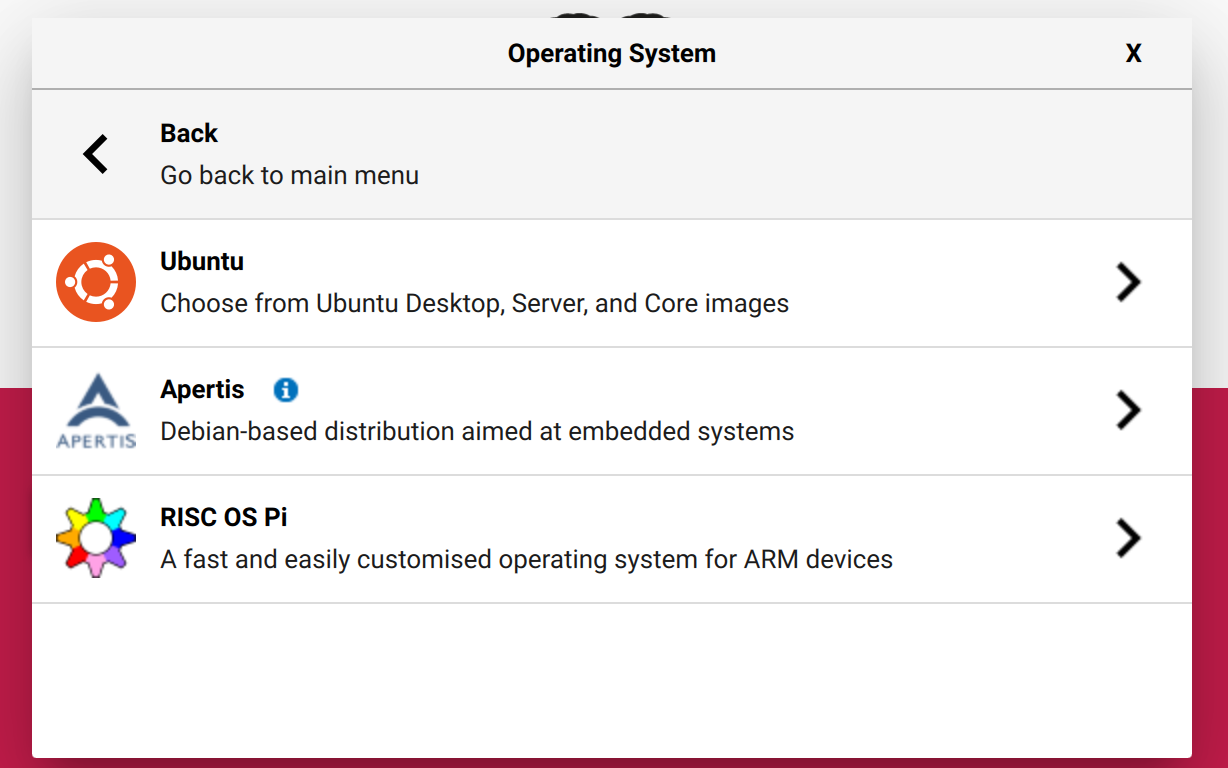
…Then Ubuntu…
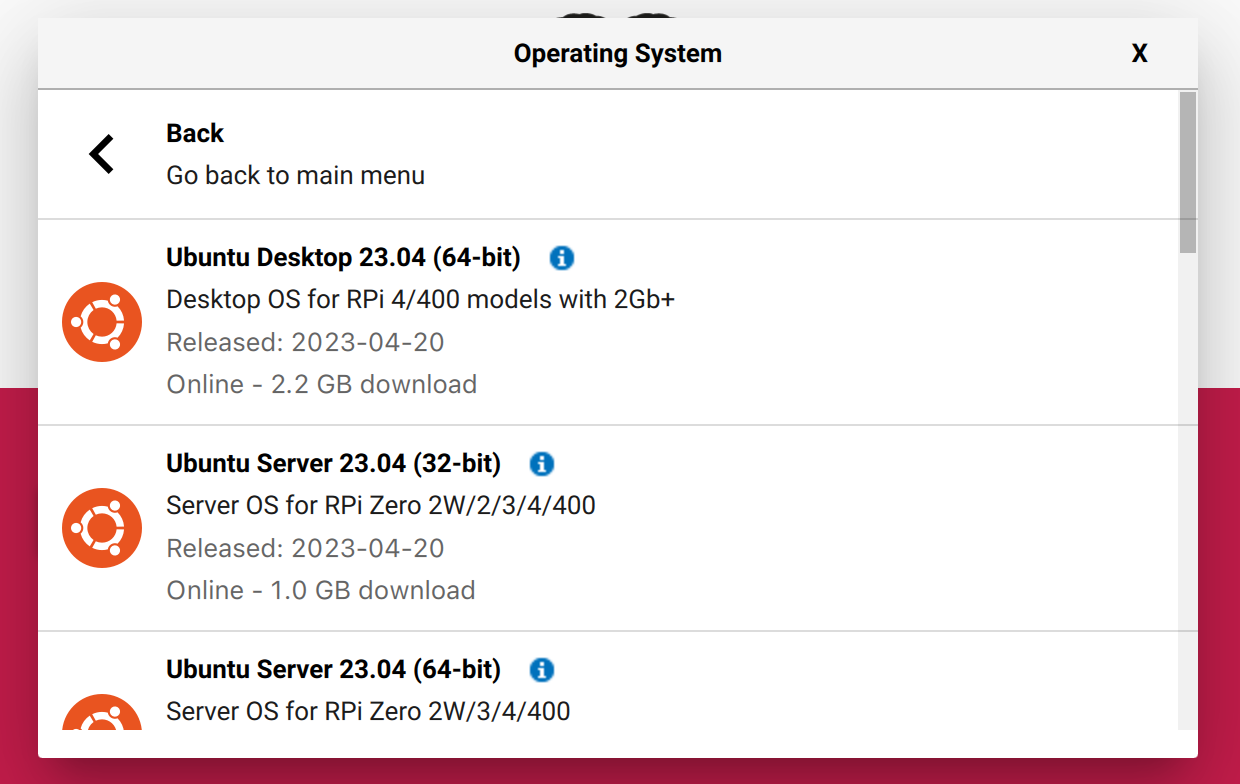
And voilà! Now, since we want Ubuntu Server and not Desktop (which is Server preloaded with a desktop environment and a bunch of other packages), let’s scroll down to the 64-bit version of Ubuntu Server 23.04.
I’m using 23.04 because it’s the latest version of Ubuntu Server at the time of writing, but you can technically use any version you want.
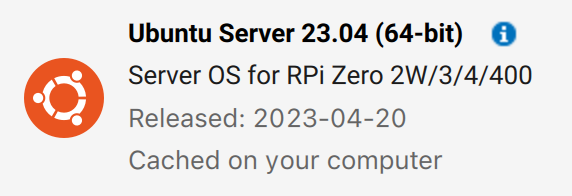
Click this option, and you should be sent back to the main menu screen.
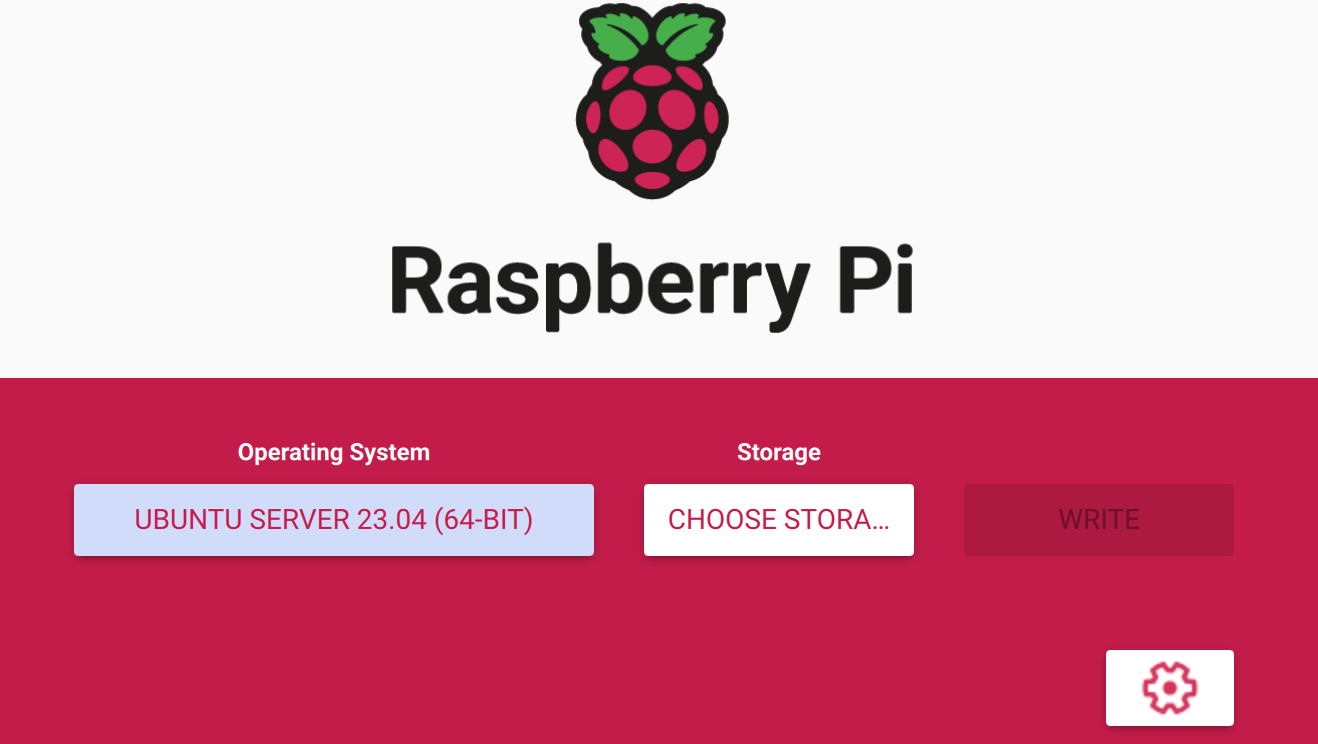
You should notice a few changes:
- The “CHOOSE OS” button has been replaced with Ubuntu Server 21.10.
- A new settings button has appeared.
This is where the Imager really shines for me. It auto-configures your Ubuntu instance, meaning you can plug it in and have it ready to go in minutes. Let’s click this settings button:

It will prompt you to prefill your WiFi password from your system keychain. For demonstrational purposes, I’ll click No, but everyone following this will probably want to click Yes. If you do, input your system user/password when prompted, and it should autofill the WiFi section of the next step.
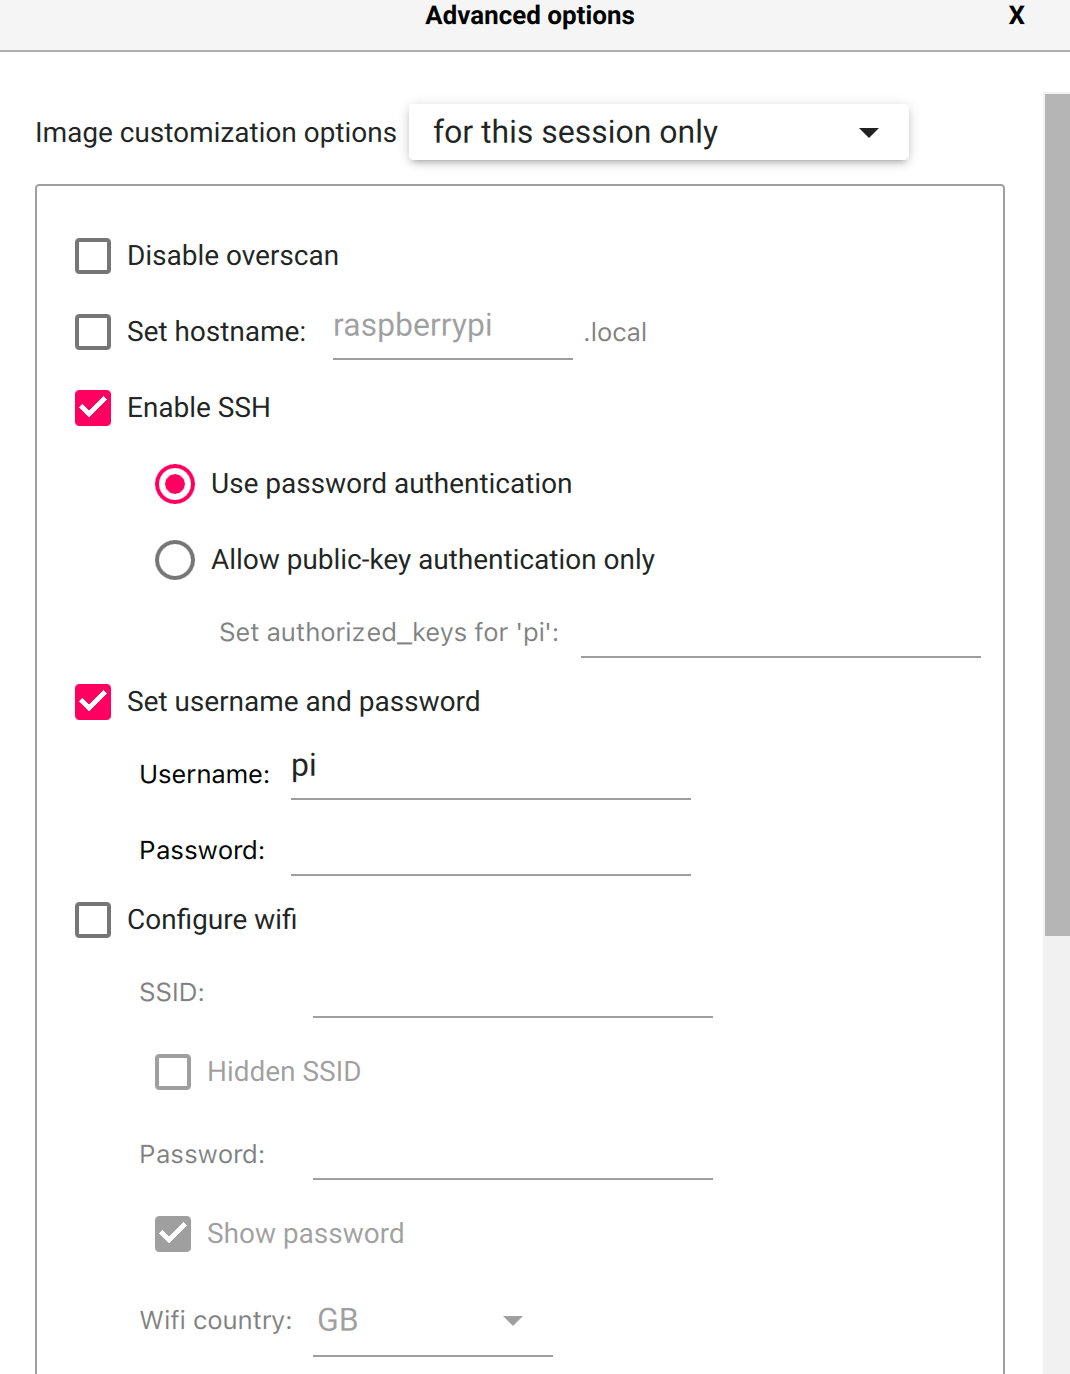
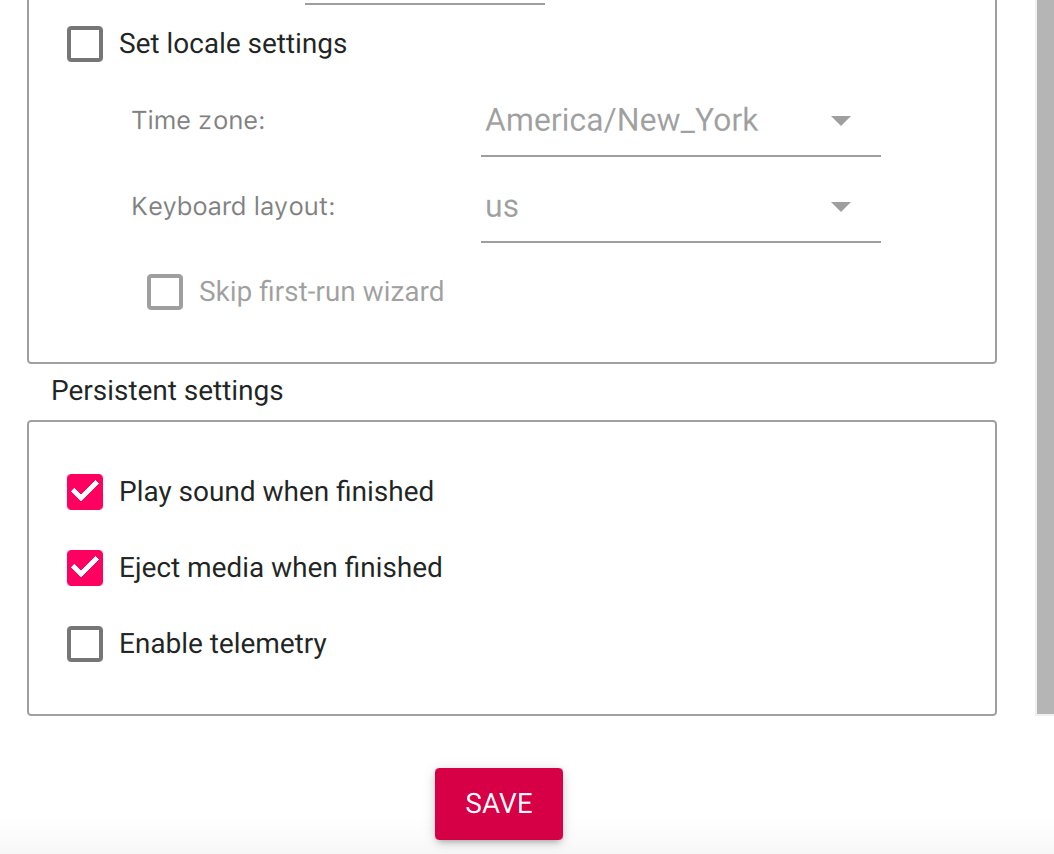
Whoa! That’s a lot of options. Let’s go through the important ones:
- Set Hostname: This defines the hostname for your system, let’s set it as
ubuntu.local. If you want to change it to something else, likeserver.localfor example, remember to use it instead! - Enable SSH: Make SURE this is checked, and choose the “Use password authentication” setting.
- Set username and password: You can set both to whatever you want, but I’ll set my name to “astro”. I’ll refer to the username and password as [USER] and [PASS] respectively (Don’t include the brackets when typing your own user/pass in!).
- Configure WiFi: Set the SSID to your exact WiFi name, and your password to your WiFi password. Also, set your WiFi country to your country code! (Example: United States = US)
- Set Locale Settings -> Time Zone: We don’t need the Keyboard Layout because we’re going to use SSH to access our Raspberry Pi, but set your time zone accordingly. Be sure to not enable “Skip first-run wizard”!
- Persistent Settings: You can set these to whatever you want, but I’d recommend enabling the first two and keeping the last one disabled.
Alrighty! After you’re done, hit Save, then pick your storage media and hit Write.
Remember to pick the correct storage media; if you pick the wrong one, you could wipe important data!
It should prompt you for your administrator password, then it should write your OS to the MicroSD card and verify it.
Congratulations: You are now the proud owner of an Ubuntu Server MicroSD card! But now, what to do with it?
To get started, plug your MicroSD card into your Raspberry Pi, then plug in your power cable. Give it a few minutes to boot up, and then open up your terminal and type:
ssh [USER]@ubuntu.local
Assuming everything is good, it should prompt you for your password. If you get the server MOTD and a command line, great! You’re in.
If you can’t connect, try using the IP address of your Pi instead. Also, I’ve often found that rebooting the Pi if it doesn’t respond in 5+ minutes fixes the issue.
And there you have it - you’ve set up a Raspberry Pi running Ubuntu Server! If you have any questions or other errors not mentioned in this post, shoot me a message on Discord! (@astroorbis)